

In today’s article, we’ll take a look at how to install Debian and enable testing repositories, to be able to use more recent and up-to-date versions of software. It is highly suitable for desktop computers. Debian testing is clean, fast, and also (even if the name tells something else) an extremely stable distro – it’s my daily driver on my desktop. It doesn’t mean Debian Stable is bad, but its use case is somewhere else. On the server for example.
I’ll try to make this article go as deep as possible, but not boring at the same time. So we’ll see if I can make it work and live up to the word. Let’s begin!
Before We start
There are a couple of things we need before we proceed to the installation itself. I’ve prepared a list for you:
- First, you’ll need a PC or virtual machine, we won’t take a step without it.
- Download Debian 11 ISO, personally, I prefer the netinst – it’s small, you can choose what packages to install, and most things are downloaded during installation.
- USB Stick (or CD/DVD, but who uses it these days?)
- Internet connection
- Patience
- Basic computer usage skills
Once you have all of the above, you can consider yourself as prepared and start the installation process.
Installation of Debian 12
Before we can switch to Debian Testing, we have to install Debian Stable first and then do an upgrade. Yes, there are daily builds, but we’ll go the hard way. Don’t worry, it may sound complicated, but it’s simple as fu*k. So, if you’re ready, take your USB stick and put it into the proper hole on the back side of your computer (yes, I mean the USB port, preferably USB 3.0). Your Linux journey starts right here!
Preparation of USB Pendrive
It’s time to burn the ISO into the USB drive. There are plenty of software options that can do this for you, but for the purposes of this tutorial, we’ll go with Etcher. It’s simple, open source, and well-designed and it’s available for every possible platform. With Etcher I mustn’t prepare two paragraphs of text for Linux and for Windows separately, just download it and run or install it (depending on the platform you’re using).

After you run Etcher, you’ll get a window with really simple options. Choose “Flash from file” and select Debian ISO you downloaded earlier. Then select your USB drive using the “Select target” option. Finally, click the “Flash!” option and wait until the software finishes the flashing process.
Starting the installation of Debian Testing
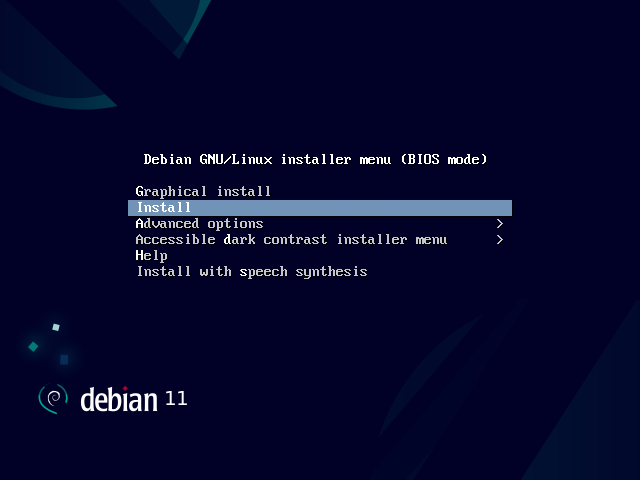
Now, restart the computer and while it is posting enter the boot menu (in most cases it’s the F12 key, but may vary depending on your PC / laptop manufacturer). Select the drive you’ve flashed the ISO on and boot. Instead of booting into the installed operating system, your computer will boot into GRUB (bootloader) on your USB drive and a few options will be shown. Don’t think about it much and select “Install” (not “graphical install – this is for babies).
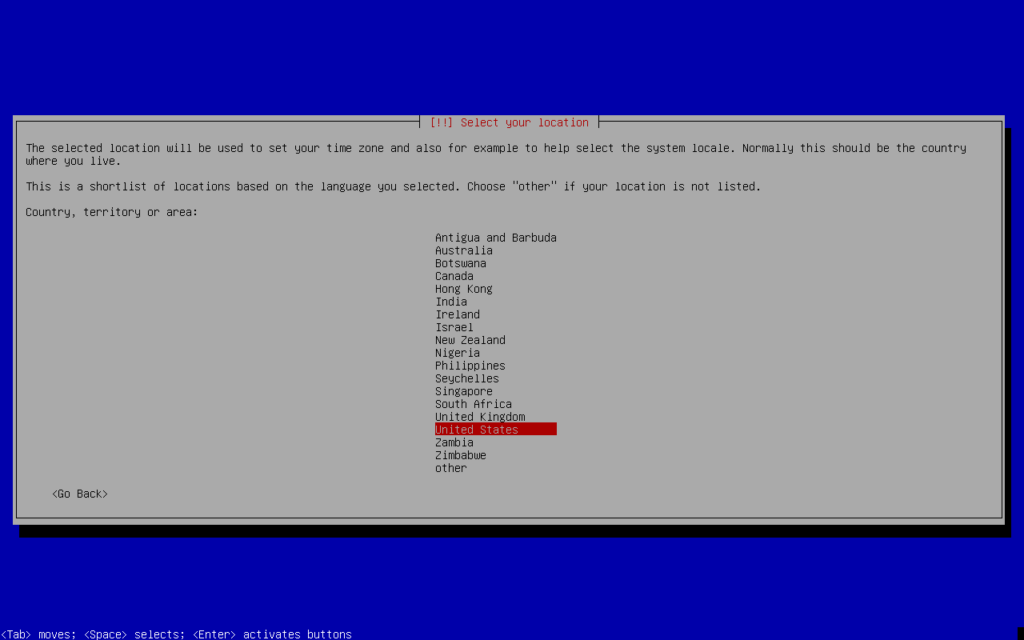
You’ll be pleased with a nice blue screen (not like the one in Windows) with even more options than before. First, you’ll be asked to select the language, the keyboard layout you want to use, and the country you’re living in or you want to download packages from.
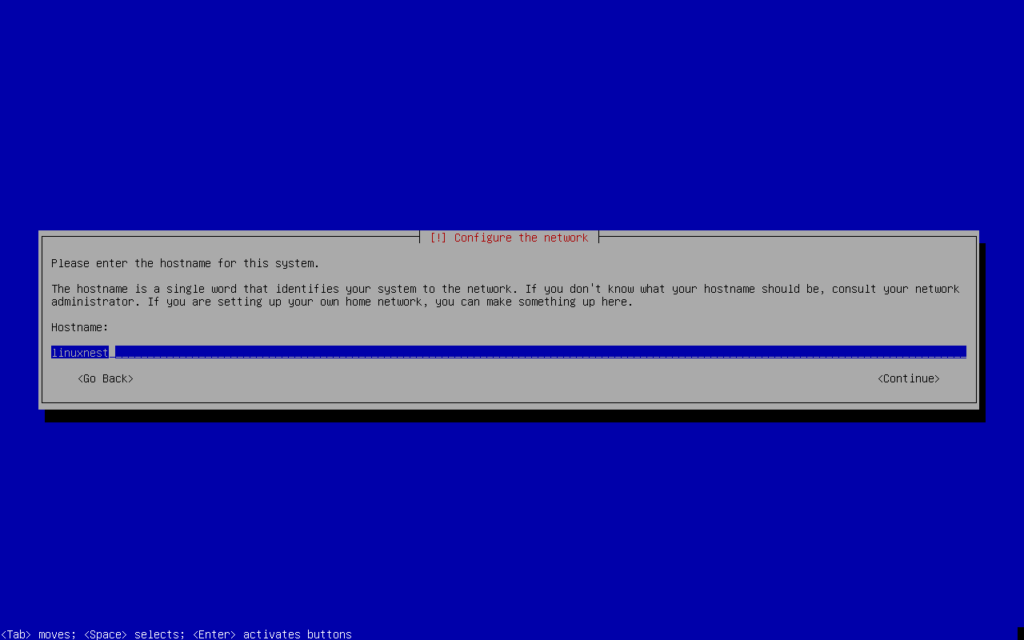
The installer will now check for data on installation media and try to set up a network with DHCP. This should work without any hassle if you are connected to your home network and have a compatible network card. The next part of network configuration is setting up the hostname. Again, in a home environment, it can be whatever you want. I’ll use linuxnest, because it’s a great name. For the domain name, I’ll leave the field empty, the reason is I have no domain set in my home network.
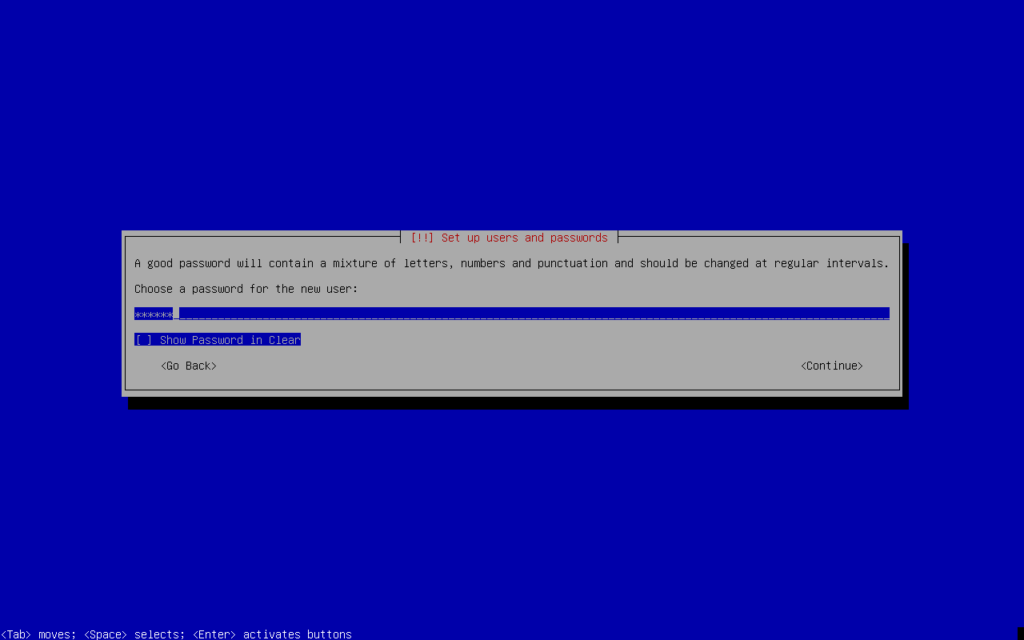
Now the funny part is coming. We’ll set up a new user. The installer will ask you for the Root password, but leave it empty. If you don’t fill in the root password, the user created in the next step will be added to the sudo group and get administrative privileges. For a username and real name I’ll once more time use linuxnest (you can use your name, but feel free to use mine), fill in the password, and continue the installation process by selecting the time zone you are living in.
The Debian installer is a really curious creature and doesn’t want to stop asking questions. The next thing he’ll want to know is which disk partition method you wish to use. Sure, as advanced users you know what’s best for you, the rest of us just use the first option (Guided – use the entire disk). There will be more questions, but the process is really simple.
Once you’ll get through disk partitioning the base system will be installed. So, let’s get some coffee in the meantime. And no, we don’t want to scan more media if the installer asks (and he will).
Select Debian archive mirror country – you should be looking for the closest mirror to your location. I’ll choose the United States and deb.debian.org. Disclaimer: We don’t need to use an HTTP proxy… And we don’t want to participate in the package survey…
After these few questions selection of software you want to install finally comes in:
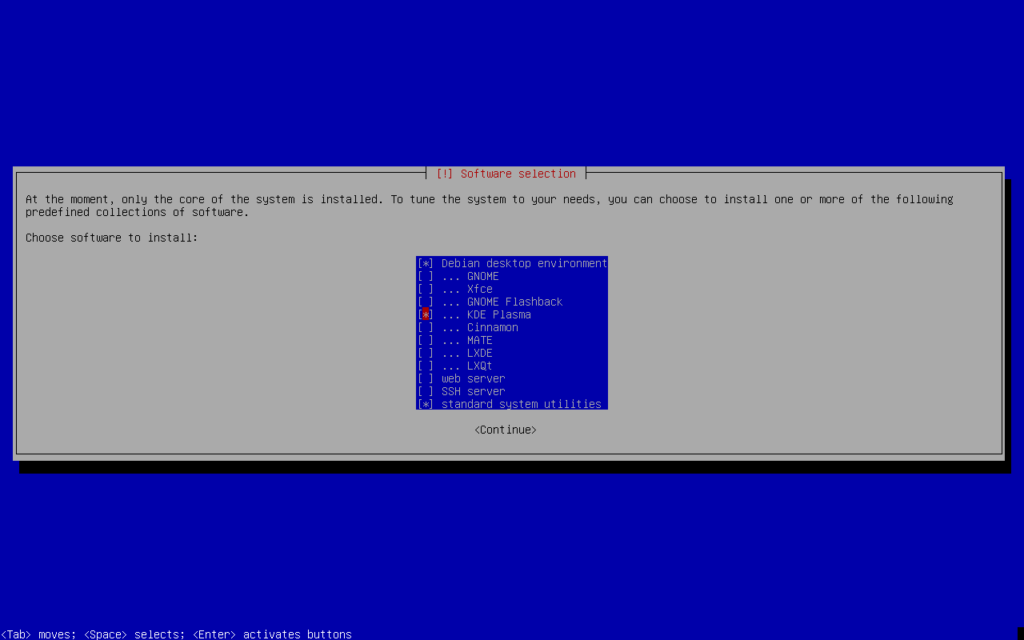
I am recommending the installation of the Debian desktop environment, KDE Plasma (if you have different preferences, do not hesitate to change your choice), and standard system utilities. Click on the continue button and wait until the installation of all packages comes to an end. This will take a while, especially in case you have a slow internet connection. It’s late for coffee, going for a beer.
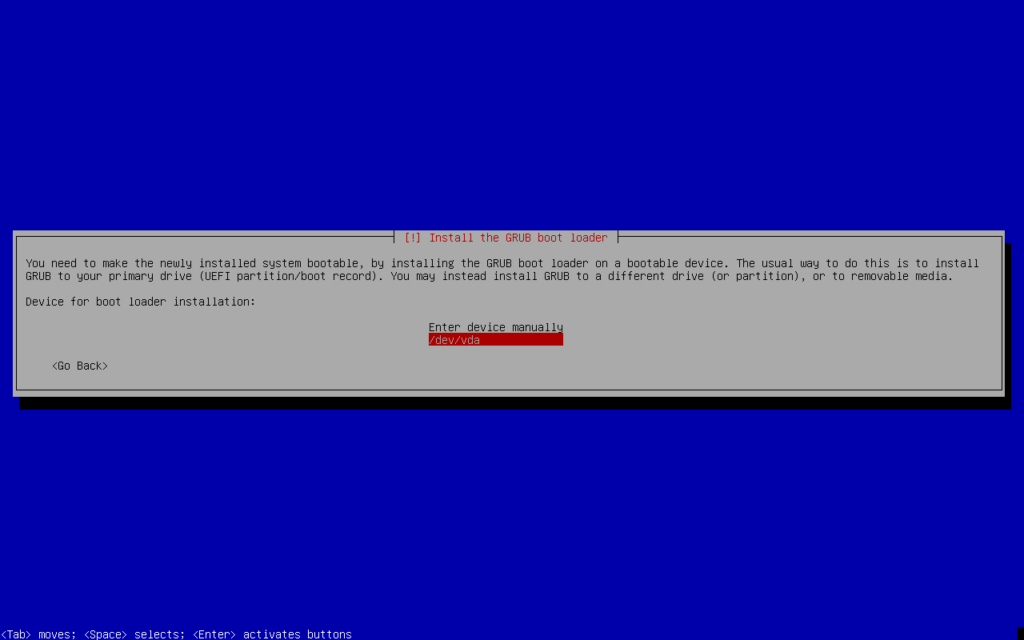
The final step is to install the GRUB bootloader. Sounds extremely advanced, right? It is! Once you’re asked if you wish to install it to the primary drive, just choose Yes and hit enter. Next, choose a device for bootloader installation. In case you have only one, there will be only one option. Choose the right disk and… loading… downloading… Installer defeated, You Win! Hit the continue button and feel the feeling of success before it all crashes during boot. Just joking, you’ll probably be fine if you haven’t been running Windows on your machine for more than a few months.
After the installation of Debian is (almost) done
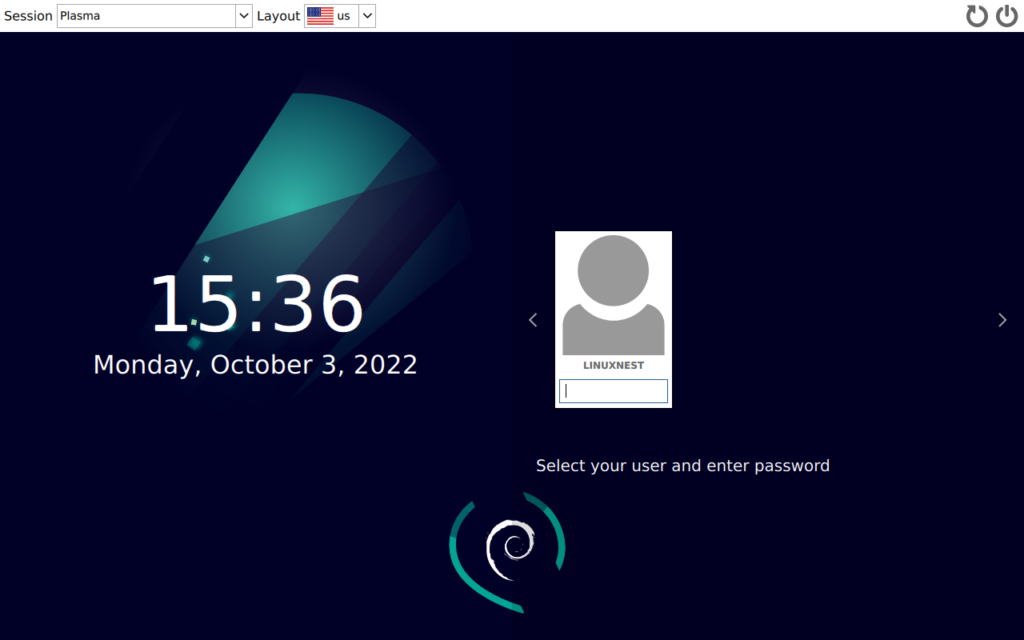
Thanks to the fact we installed everything from the network, there is no need to update our packages. Debian 11 is up to date, but at the beginning of this blog post, I was talking about Debian Testing, right? Ok, I promise, I’ll deliver. Log in, click on the menu fire up the Konsole (if you can’t find it, use the search function), and type in:
sudo nano /etc/apt/sources.listIn short, sources.list is a file that tells apt package manager where to look for packages. Simply change all bullseyes to testing and close the file (CTRL+X).
Next, make the upgrade:
sudo apt update && apt upgradeCongratulations, you’re now running Debian Testing. Use it wisely, great power comes with great responsibility!
Did you know that you can also play games on Debian using Steam?