
Transforming an old computer into a powerful, versatile, and cost-effective Linux home server can be an exciting and rewarding project. In this article, we will guide you through the process of building a home server using a Dell Optiplex 9020, upgrading its hardware, and installing Debian as the operating system. We will also explore some applications you can run on your home server, such as a web server, Nextcloud, Pi-hole, and more.
Why Build a Linux Home Server?
A home server can serve various purposes, such as hosting your website, storing your files, or running a personal cloud. Some benefits of building your own Linux home server include:
- Cost-effective: Using an old computer and open-source software can save you money compared to purchasing a pre-built server or relying on third-party cloud services.
- Customizable: You have complete control over the hardware, software, and applications, allowing you to tailor your server to your specific needs.
- Privacy: Storing your data on your own server ensures better privacy and control compared to third-party cloud services.
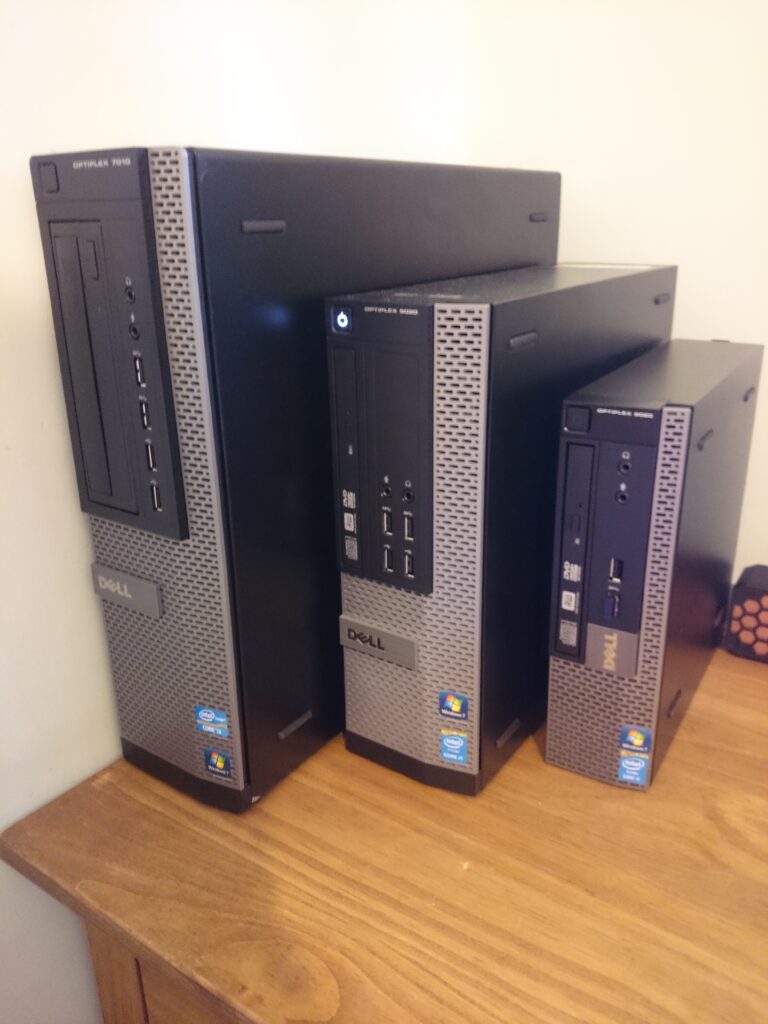
Upgrading the Dell Optiplex 9020
The Dell Optiplex 9020 is a reliable and widely available computer that can be easily upgraded to create a capable home server. Here are the recommended upgrades to enhance its performance:
- SSD: Swapping the original hard drive with an SSD will significantly improve the speed and responsiveness of your server. You can choose an SSD with a capacity that suits your storage needs.
- RAM: Upgrading the RAM will allow your server to handle multiple tasks and applications simultaneously. A minimum of 8GB is recommended, but you can opt for more, depending on your requirements.
- CPU: If your Optiplex 9020 has a low-end CPU, consider upgrading to a higher-end model from the same generation (e.g., Intel Core i5 or i7) to improve performance.
Installing Debian on Your Home Server
Debian is a popular, stable, and reliable Linux distribution suitable for a home server. To install Debian on your upgraded Dell Optiplex 9020, follow these steps:
- Download the Debian installation image from the official Debian website.
- Create a bootable USB drive using a tool like Rufus or Etcher.
- Insert the USB drive into the Optiplex 9020 and boot from it. You may need to change the boot order in the BIOS settings.
- Follow the on-screen instructions to install Debian, choosing your preferred language, keyboard layout, and partitioning scheme.
Setting Up Connectivity and Public IP
Once Debian is installed on your home server, you need to configure your network settings and obtain a public IP address. Here’s how:
- Configure your network: Ensure your server is connected to your home network via Ethernet for optimal performance. You can configure the network settings during the Debian installation or edit the
/etc/network/interfacesfile after installation. - Obtain a public IP address: Most Internet Service Providers (ISPs) assign a dynamic public IP address to your home network, which can change over time. To ensure consistent access to your server, you can:
- Use a Dynamic DNS (DDNS) service, which automatically updates your domain name with your current IP address. Many routers support DDNS integration, or you can use a third-party service like No-IP or [Dynu](https://www.dynu.com/).
- Request a static IP address from your ISP, although this might incur an additional cost.
- Port forwarding: To make your server accessible from the internet, you need to forward specific ports from your router to your server. The required ports depend on the applications you plan to run on your server (e.g., port 80 for a web server or port 443 for HTTPS). Consult your router’s documentation for instructions on setting up port forwarding.
Applications for Your Linux Home Server
With your Debian-based home server up and running, it’s time to install some useful applications. Here are some popular choices:
1. Web Server
A web server allows you to host your own website, blog, or web application. There are several web servers available, such as Apache, Nginx, and LiteSpeed. To choose the best one for your project, check out this web server comparison article. To install a web server on Debian, use the following commands:
- Apache:
sudo apt updatesudo apt install apache2
Nginx:
sudo apt updatesudo apt install nginx
2. Nextcloud
Nextcloud is an open-source, self-hosted cloud storage solution that allows you to store and share files, calendars, contacts, and more. To install Nextcloud on Debian, follow these steps:
- Install the required dependencies:
sudo apt updatesudo apt install php php-gd php-json php-mysql php-curl php-mbstring php-intl php-imagick php-xml php-zip
Download and extract the Nextcloud installation package:
wget https://download.nextcloud.com/server/releases/nextcloud-XX.XX.XX.tar.bz2tar -xjf nextcloud-XX.XX.XX.tar.bz2
Replace XX.XX.XX with the latest Nextcloud version number.
Move the Nextcloud files to your web server’s document root and set the appropriate permissions:
sudo mv nextcloud /var/www/html/ sudo chown -R www-data:www-data /var/www/html/nextcloudConfigure your web server to serve Nextcloud and complete the installation through the web-based setup wizard.
3. Pi-hole
Pi-hole is a network-wide ad blocker that also functions as a DNS server, improving the browsing experience and increasing network security. To install Pi-hole on Debian, run the following command:
curl -sSL https://install.pi-hole.net | bash
Follow the on-screen instructions to configure Pi-hole, and update your router or devices to use Pi-hole as their DNS server.
4. Plex Media Server
Plex is a popular media server application that allows you to organize and stream your video, music, and photo collections to various devices. To install Plex on Debian, follow these steps:
- Download the Plex installation package:
wget https://downloads.plex.tv/plex-media-server-new/1.24.5.5173-8dcc73a59/debian/plexmediaserver_1.24.5.5173-8dcc73a59_amd64.deb
Install the Plex package:
sudo dpkg -i plexmediaserver_1.24.5.5173-8dcc73a59_amd64.deb
3. Start and enable the Plex Media Server:```bashsudo systemctl start plexmediaserversudo systemctl enable plexmediaserver
- Access the Plex web interface at
http://your-server-ip:32400/weband follow the setup wizard to configure your media library.
Securing Your Linux Home Server
To ensure your home server is secure, follow these best practices:
- Keep your system up-to-date: Regularly update your server’s operating system and applications to protect against security vulnerabilities.
sudo apt updatesudo apt upgrade
Use strong, unique passwords: Use strong, unique passwords for each service and user account on your server.
Implement firewall rules: Set up a firewall, such as ufw or iptables, to restrict incoming and outgoing traffic and protect your server from unauthorized access.
Enable automatic security updates: Configure your server to automatically install security updates by installing the unattended-upgrades package:
bash
sudo apt install unattended-upgrades sudo dpkg-reconfigure unattended-upgrades- Disable unnecessary services: Turn off any services or applications you don’t need to minimize the attack surface of your server.
Conclusion
Building a budget-friendly Linux home server using an old Dell Optiplex 9020 is an excellent way to repurpose old hardware and create a customizable, secure, and private solution for hosting various applications. By upgrading the hardware, installing Debian, and configuring the network settings, you can create a powerful server to host a web server, Nextcloud, Pi-hole, Plex, and more.
Remember to follow security best practices and keep your system up-to-date to ensure your server remains secure and reliable. With the right setup and maintenance, your Linux home server can serve you well for years to come. Happy hosting!