
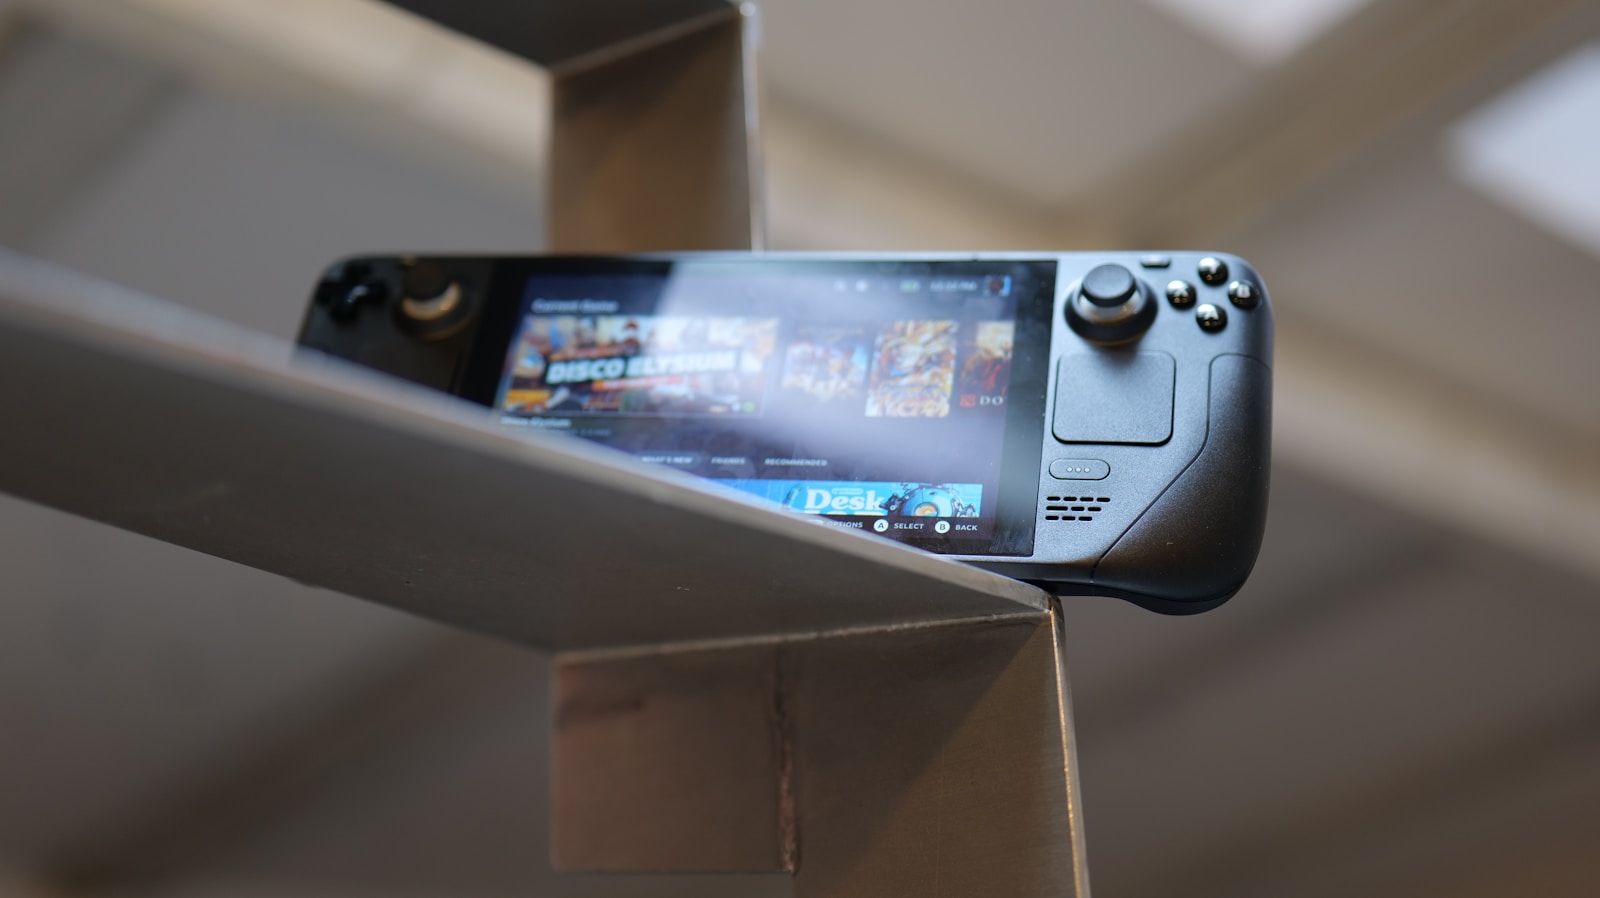
Guys (and girls), let’s take a look at something interesting. I remember the first time I got my hands on a Raspberry Pi. I looked at this tiny little board and thought, “Cute. A toy.” Then I saw some maniac running a full-blown Kubernetes cluster on a stack of them, and it hit me: never, ever underestimate a piece of hardware just because it’s small. The Steam Deck gives me that exact same feeling. It looks and feels like a handheld console, but lurking under that plastic shell is a full-fat Arch Linux PC just screaming to be unleashed.
You’re here because you’re asking the same question I did: Is using the Steam Deck as a desktop a viable, productive reality, or is it just a clunky, frustrating gimmick you’ll try once and never touch again? You’ve seen the flashy YouTube videos and the endless Reddit threads, and now you want a real, no-bullshit answer from someone who’s spent more than 15 years in the Linux trenches.
Well, you’ve come to the right place. In this guide, we’re going to rip the lid off this thing. We’ll cover the essential gear you’ll need, the software hurdles that’ll make you want to throw it against a wall, and the god-tier tweaks that transform this gaming machine into a surprisingly capable Linux workstation. By the end of this, you’ll know exactly what you’re getting into, and whether the Steam Deck as a desktop is the right kind of insanity for you.
Gearing Up: Your “Steam Deck as a Desktop” Battle Station
First things first: you can’t use the Steam Deck as a desktop without plugging shit into it. Trying to be productive on that 7-inch screen with just the trackpads is an exercise in masochism. So, let’s build your command center.
The Foundation: A Really Good Dock
This is non-negotiable. A dock is the bridge between your handheld toy and a proper desktop experience. It gives you the ports you need for a monitor, peripherals, and stable power.
- The Official Option: Valve makes its own official Docking Station. It’s clean, it’s sturdy, it’s designed specifically for the Steam Deck, and it just works. It’s also a bit pricey, but you’re paying for guaranteed compatibility.
- The Third-Party Army: This is where it gets interesting. Companies like JSAUX, Sabrent, and Ugreen have flooded the market with fantastic Steam Deck accessories, and their docks are often more feature-rich than Valve’s.
- The JSAUX M.2 Docking Station is a personal favorite because it includes an M.2 slot, letting you plug in an NVMe SSD for massively expanded, high-speed storage. It’s a game-changer.
- If you’re on a budget, the Sabrent 6-Port Dock is a killer deal. It gives you the essential ports without the sticker shock, though you do sacrifice an Ethernet port.
- The Ugreen 9-in-1 Dock is another solid choice, notable for its adjustable stand, which gives you more flexibility in how you position the Deck itself.
- What to Look For: Don’t just grab the first thing you see. You need to look for a few key specs:
- USB-C Power Delivery (PD): This is critical. It allows the dock to pass through enough juice to charge your Deck while you’re using it.
- HDMI 2.0+ or DisplayPort: For connecting to an external monitor. You’ll want this to drive a 1080p or even a 4K display for desktop work.
- Multiple USB-A Ports: For your keyboard, mouse, and any other relics you have lying around.
- Ethernet Port: Because Wi-Fi is for cowards and people who enjoy lag. A wired connection is always more stable.
Your Weapons of Choice: Keyboard and Mouse
Yes, you can technically navigate the desktop using the built-in trackpads and the on-screen keyboard (which you can summon with STEAM + X). But if you plan on doing anything more complicated than opening a web browser, you’ll want to claw your eyes out. A physical keyboard and mouse are essential Steam Deck accessories for this setup.
- Wireless is King: Cut the cord. Bluetooth peripherals are the way to go for a clean setup. For a mouse, you don’t need anything fancy; the Logitech G305 Lightspeed is a fantastic, affordable, and reliable option. For keyboards, the Keychron K2 is a community favorite for a reason—it’s a great mechanical keyboard that doesn’t break the bank. If you need something slimmer to throw in a bag, the Asus ROG Falchion RX Low Profile is a solid portable choice.
- Connectivity Gotcha: Be warned, this is one of the Deck’s biggest “WTF” moments. You might pair your Bluetooth keyboard and mouse perfectly in Gaming Mode, but the moment you switch to Desktop Mode, the Deck develops amnesia and forgets they exist. This forces you to use the clunky trackpads and on-screen keyboard to re-pair them every… single… time. It’s a known, infuriating quirk.
Expanding Your View: External Monitors
The Deck’s single USB-C port is a multi-purpose beast, capable of handling video output alongside power and data. You can hook it up to a TV, a proper monitor, or if you’re a true retro connoisseur, even an old CRT monitor (assuming you have the right nest of cables). Getting a big screen is the final piece of the puzzle to make using the Steam Deck as a desktop feel like a real computer.
Entering the Matrix: A First Look at Desktop Mode
With your battle station assembled, it’s time to leave the cozy confines of Gaming Mode and venture into the wild west of the Linux desktop.
The Switch
Making the jump is easy. Just press the STEAM button, go to Power, and select Switch to Desktop. After a few seconds of black screen that might make you think you broke it, you’ll be greeted by a full desktop environment. To get back, just double-click the “Return to Gaming Mode” icon on the desktop.
Welcome to KDE Plasma
The desktop environment Valve chose is KDE Plasma, a modern and powerful DE running on top of an Arch Linux base.
- First Impressions: If you’re coming from Windows, it will feel surprisingly familiar. It’s slick, modern-looking, and ridiculously customizable. You can tweak almost every aspect of its appearance and behavior.
- The Jank: As mentioned, the out-of-the-box touchscreen experience is, to put it mildly, “downright awful”. The on-screen keyboard can be unreliable, and trying to hit tiny UI elements with your finger is a recipe for frustration. This just hammers home the point: get a mouse and keyboard.
Key Applications to Know
You’ll be spending most of your time in a few key applications:
- Discover: Look for the blue shopping bag icon on the taskbar. This is your app store. It’s the official, Valve-sanctioned way to install software via Flatpaks, which we’ll get into in a moment.
- Dolphin: This is your file explorer. It’s powerful, has tabs, and you’ll need to get comfortable with it for any serious work or tinkering.
- Steam (Desktop Client): In Desktop Mode, the familiar Steam client is just another app. Its most important function here is adding non-Steam applications to your library. This is the magic trick that lets you launch desktop apps (like emulators or browsers) from the comfort of Gaming Mode.
The Elephant in the Room: That Immutable Filesystem
Okay, this is the most important part of the entire guide. If you don’t understand this, you’re going to have a very, very bad time. The single biggest challenge of using the Steam Deck as a desktop is its locked-down nature. Valve’s main goal is a stable, unbreakable console experience. They can’t have people accidentally deleting critical system files and bricking their devices. Their solution? An immutable OS. This creates a fundamental conflict between Valve’s need for stability and our desire for the flexibility of a real PC. Navigating this conflict is the key to unlocking the Deck’s true power.
What is an Immutable OS? (A No-Bullshit Explanation)
In simple terms, the core of SteamOS is read-only. You can’t just open a terminal and sudo pacman -S neofetch like you would on a normal Arch Linux machine. Why? Because any changes you make to the main system partition are wiped clean with the next SteamOS update.
This is powered by an A/B partition scheme. The Deck has two identical system partitions (A and B). You’re always running on one (say, A). When an update comes in, it’s installed silently to the other partition (B) in the background. When you reboot, the Deck just flips a switch and boots from partition B. If the update is borked, no problem—it just boots back into partition A. This is called an atomic update: it either works perfectly, or it doesn’t happen at all, which prevents your system from being left in a broken, half-updated state. It’s a brilliant and robust system for a consumer device, but a pain in the ass for a tinkerer.
The “Safe” Path: Living the Flatpak Life
Valve’s official solution to this problem is Flatpak. When you install an application from the Discover software center, you’re installing a Flatpak. These are self-contained, containerized applications. They bundle all their dependencies and install to the writable /home directory, which is separate from the read-only system partition. This means they are completely unaffected by SteamOS updates. For most users, this is the best and safest way to add software like browsers, media players, and emulators.
The “Danger Zone”: Unleashing pacman on SteamOS
But what if the app you need isn’t on Flathub? Well, then it’s time to get your hands dirty. This is where most people get stuck and start flooding forums with error messages. Follow these steps exactly.
- Set a Sudo Password: Out of the box, the
deckuser has no password. You can’t usesudowithout one. Open a terminal (Konsole) and set one:BashpasswdEnter and confirm a strong password. Don’t forget it! - Disable the Read-Only Lock: You need to tell the OS that you’re an adult and you’re about to do some surgery.Bash
# This command disables the filesystem's read-only protection. # It's the key to the kingdom. sudo steamos-readonly disableYou can re-enable it later withsudo steamos-readonly enable. - CRITICAL STEP: Initialize the Pacman Keyring: This is the step that 99% of people miss, and it’s why their
pacmancommands fail with a wall of PGP signature errors. Arch Linux verifies every package with a cryptographic signature to make sure it’s legit and hasn’t been tampered with. SteamOS doesn’t have the keys needed for this verification set up by default. You have to do it manually. DO NOT SKIP THIS.# 1. Initialize the keyring. This creates the necessary GnuPG directory structure.sudo pacman-key --init# 2. Populate the keyring with keys from Arch Linux AND Holo (SteamOS's custom repo).# This downloads the master keys that are used to verify all other package signatures.# If you don't populate the holo keyring, you'll still get errors.sudo pacman-key --populate archlinuxsudo pacman-key --populate holo
I cannot stress how important this is. These commands set up the chain of trust that allowspacmanto work.
Now you can run sudo pacman -Syu to update your system or sudo pacman -S <package> to install something. But remember the big, fat caveat: anything you install this way will be vaporized on the next SteamOS update. This makes it a temporary solution for emergencies, not a sustainable way to build a desktop environment.
The God-Tier Tweak: Persistent Dev Environments with Distrobox
So, if Flatpaks are too limiting and pacman is too temporary, what’s the real, long-term solution? The answer isn’t to fight the immutable OS; it’s to work with it. The answer is containerization. By using a tool called Distrobox, we can create a fully mutable, traditional Linux environment (like Ubuntu or Fedora) that lives safely inside our persistent /home directory. This is the elegant, professional way to turn your Steam Deck as a desktop into a real workhorse. It’s not a hack; it’s leveraging modern DevOps principles on a gaming console, which is very cool.
What is Distrobox?
Think of Distrobox as a supercharged chroot or a lightweight alternative to a full VM. It uses a container engine called Podman (a rootless, more secure alternative to Docker) to spin up any Linux distribution you want, right inside your terminal. The magic is in its tight integration with your main system (the “host”). Your home directory, USB devices, and even graphical applications are shared seamlessly between the container and SteamOS.
The best part? As of SteamOS 3.5, Distrobox and Podman come pre-installed, though they might be a bit outdated.
Step-by-Step Guide to a Persistent Ubuntu Dev Environment
Let’s build a proper, persistent development environment that will survive any OS update Valve throws at you.
- Update Distrobox (Optional but Recommended): The built-in version can be ancient. To get the latest features and bug fixes, it’s a good idea to install a newer version into your local user directory.Bash
# This command downloads the latest distrobox install script and runs it, # installing the binaries to ~/.local/bin, which is in your writable home directory.curl -s https://raw.githubusercontent.com/89luca89/distrobox/main/install | sh -s -- --prefix ~/.local
Now, the important part. You need to tell your terminal to use this new version instead of the old system-wide one. Open your~/.bashrcfile in a text editor (likekateormicro) and add this line to the end:# This puts your local bin directory at the front of your PATH.export PATH="$HOME/.local/bin:$PATH"
Save the file and restart your terminal for the change to take effect. - Create Your First Container: Let’s create an Ubuntu container. You can swap
ubuntu:latestwith almost any other distro image, likefedora:latestorarchlinux.# This command will pull the latest Ubuntu image and create a container named 'ubuntu-dev'.distrobox create -n ubuntu-dev -i ubuntu:latest - Enter the Container: Now, step inside your new environment.Bash
distrobox enter ubuntu-devYour terminal prompt will change. You are now, for all intents and purposes, running an Ubuntu terminal. - Install Software: Inside the container, you have full
sudoandaptpowers. Go nuts. Everything you install here will be saved within the container in your home directory and will persist.# Welcome to Ubuntu. Let's install some dev tools.sudo apt update sudo apt install -y build-essential git neovim python3-pip - Exporting Graphical Apps: This is the coolest part. You can install a graphical application like VS Codium (an open-source build of VS Code) inside your Ubuntu container and then “export” it to your main SteamOS desktop.
# Still inside your 'ubuntu-dev' container... # (Install Codium using its.deb package or another method) # Now, export the application to the host.distrobox-export --app codium
This command cleverly creates a.desktopfile on your SteamOS desktop. When you click it, it seamlessly launches the app from within the container. You can even add this exported app to Steam as a non-Steam game to launch it from Gaming Mode.
You now have a stable, powerful, and fully persistent development environment that is completely isolated from the core operating system. This is the best of both worlds: Valve’s stable, curated gaming experience, and a flexible, powerful Linux workstation that you control.
The Million-Dollar Question: How Does It Actually Perform?
So, you’ve got it all set up. Can this little handheld that could actually handle a real workload? The answer is complicated and reveals a fascinating performance paradox.
The Daily Grind: Can it Handle Your Browser Tabs?
For general desktop use—web browsing, email, writing documents, watching videos—the Steam Deck’s custom AMD APU (with a Zen 2 CPU) is surprisingly competent. Many users have reported using it as their daily driver, smoothly handling multiple Firefox windows with over 10 tabs, Discord, and other applications running simultaneously. Some even claim it feels snappier than their older Intel MacBooks or Microsoft Surface Pros.
However, there are a couple of gotchas:
- Web Browsing: The default Flatpak version of Firefox can suffer from “slow, janky, low fps” video playback. This seems to be a result of sandboxing and issues with
ffmpeg. The recommended fix is to download and run the official Linux build directly from Mozilla’s website. - LibreOffice: While it runs, LibreOffice can feel laggy on Linux systems in general, especially with large, complex documents. This isn’t strictly a Steam Deck problem, but it’s something to be aware of if you plan on doing heavy office work.
For the Creatives: A Pocket-Sized Studio?
- Photo Editing (GIMP/Krita): This is surprisingly viable. The trackpads are responsive enough for basic drawing tasks. Krita is available on Steam and runs well, but it’s a demanding application. Performance hinges on the size and complexity of your files. It’s great for sketching and light editing, but don’t expect to be working on massive, multi-gigabyte files with hundreds of layers without some serious lag.
- Video Editing (Kdenlive): Now you’re pushing the limits. It can be done—users have edited entire videos on the Deck. But the experience will be “choppy and sluggish,” especially with high-resolution 4K footage or when trying to scrub through the timeline. To make it bearable, you’ll absolutely need to use proxies and lower the preview resolution. The fact that it’s even possible is a testament to the Deck’s power, but it’s far from an ideal video editing rig.
For the Coders: A Portable Dev Machine?
With a proper setup—dock, external monitor, keyboard, and mouse—and a Distrobox environment to bypass the OS limitations, the answer is a definitive yes.
The hardware is more than capable of running IDEs like VS Code (or Codium), compiling code, and running local web servers for development. Users have successfully used it for professional web development (Go, SvelteKit) and even as their primary work machine when traveling. The main bottleneck for developers was never the performance; it was the immutable OS. With Distrobox, that bottleneck is gone.
The Performance Paradox: Gaming Mode vs. Desktop Mode
You’ll see conflicting reports online. Some swear games run better in Desktop Mode, while others say Gaming Mode is superior. What gives? This isn’t a simple “one is faster” issue; it’s a result of two fundamentally different technologies at play.
- Gaming Mode runs on Gamescope, a highly specialized Wayland compositor. Its entire purpose is to run a single, full-screen application (the game) with the lowest possible latency. It gives Valve granular control over frame pacing, resolution scaling (like FSR), and refresh rates. It’s a sniper rifle, optimized for one specific task.
- Desktop Mode runs on KWin, a traditional X11 window manager and compositor. Its job is to juggle dozens of overlapping windows, handle desktop effects, and manage a full desktop environment. It’s a Swiss Army knife, designed for general-purpose computing.
So, why do some people see better performance in Desktop Mode? It’s likely not because KWin is a “faster” gaming compositor—it isn’t. It’s more likely due to other factors, like less aggressive power management profiles in Desktop Mode or better handling of external displays at their native resolutions, whereas Gaming Mode might default to the Deck’s native 800p. The takeaway is that Gaming Mode is purpose-built for the handheld gaming experience, while Desktop Mode is a full, general-purpose computing environment with different priorities.
The Nuclear Option: Ditching SteamOS for Greener Pastures
What if you don’t want to deal with read-only filesystems or container workarounds? What if you just want a normal, mutable Linux desktop that’s also great for gaming? This desire has led to the rise of alternative operating systems for the Steam Deck, each offering a different philosophy. Instead of a console that can be a PC, they aim to be a PC that can be a console.
Bazzite: The SteamOS Doppelgänger
- What it is: A Fedora-based immutable OS specifically designed to replicate the SteamOS experience on other handhelds and PCs. It’s the most “Steam Deck-like” of the alternatives.
- Key Difference: Bazzite uses an overlay filesystem. This is the magic ingredient. It still has a stable, immutable base, but it allows you to install system-level packages (
rpm-ostree) in a way that persists across updates. This solves the single biggest complaint power users have about SteamOS. - Pros: More control, faster updates (it had KDE Plasma 6 months before SteamOS), an optional GNOME desktop environment (which is better for touchscreens), and support for full-disk encryption.
- Cons: It’s not the official, Valve-tuned OS. While very stable, you’re trading the bespoke, hardware-specific polish of SteamOS for greater flexibility. It’s the best distro for Steam Deck if you want a power user’s console.
Nobara Project: The Gamer’s Fedora
- What it is: A version of Fedora heavily optimized for gaming and streaming, maintained by the legendary GloriousEggroll (the creator of Proton-GE).
- Key Difference: It’s a traditional, mutable distro. This is just like installing Fedora on a normal PC. You have full control, use the standard
dnfpackage manager, and there’s no read-only filesystem to fight with. - Pros: The ultimate freedom. You get a bleeding-edge, gaming-focused desktop with all the latest drivers and patches, managed by someone who is a pillar of the Linux gaming community.
- Cons: You’re on your own. This is a traditional Linux desktop experience, which means you are responsible for its stability. Some users have reported kernel-related issues.
Comparison: Which Distro is For You?
This decision comes down to what you value most: stability, controlled flexibility, or total freedom.
| Feature | SteamOS | Bazzite | Nobara Project |
| Base Distro | Arch Linux | Fedora (Atomic/Immutable) | Fedora (Workstation/Mutable) |
| Filesystem Model | Immutable (A/B Partitions) | Immutable (OverlayFS) | Mutable |
| Primary Package Tool | Flatpak | rpm-ostree / Flatpak | dnf / Flatpak |
| Update Style | Atomic Image-based | Atomic Image-based | Traditional Package-based |
| Desktop Environment | KDE Plasma | KDE Plasma or GNOME | GNOME (Customized) |
| Best For | Maximum Stability: The official, console-like experience. Ideal for users who prioritize gaming and want a system that is difficult to break. | The Power User’s Console: A SteamOS-like experience with persistent system tweaks and more control. For those who want an immutable OS but find SteamOS too restrictive. | The Bleeding Edge Gamer: A traditional, highly-tweaked desktop for maximum gaming performance and the latest packages, for users comfortable managing their own system. |
The Verdict: A Brilliant Hack or a Complete Nightmare?
So, after all that, is using the Steam Deck as a desktop a good idea? The answer isn’t a simple yes or no. It exists on a spectrum of glorious potential and infuriating jank.
- For the Casual User: If your goal is just to occasionally browse the web or watch a YouTube video, it’s a “cool bonus” feature. But the hassle of connecting peripherals and dealing with the clunky on-screen experience can make it a “logistical nightmare”. For this person, it’s a fun but flawed gimmick. A cheap Chromebook is honestly a better and more straightforward experience for simple desktop tasks.
- For the Power User / Developer: If you’re a fellow Linux nerd who isn’t afraid to pop the hood, set a
sudopassword, and embrace the power of tools like Distrobox, the equation changes entirely. The Steam Deck transforms into a shockingly versatile and powerful portable Linux machine. For this person, it’s a brilliant hack.
My final take? It’s not a laptop replacement for everyone. But as a single, portable device that can morph from a high-end gaming console into a full-featured development environment with a few terminal commands? That’s pure magic. It’s a testament to the incredible power and flexibility of Linux, and it’s a tinkerer’s dream come true.
No It’s Your Turn
We’ve covered the essential gear, navigated the minefield of the immutable OS, unlocked its true potential with Distrobox, and even explored alternate operating systems. The Steam Deck is the modern-day Commodore 64—a device that looks like a toy but invites you to learn, to tinker, and to push its limits. Don’t be afraid to get your hands dirty and break things (that’s what recovery images are for!).
Now, I want to hear from you. What’s your setup? What crazy shit have you gotten running on this thing in Desktop Mode? Drop your experiences, your war stories, your questions, and your own god-tier tweaks in the comments below. Let’s build the ultimate knowledge base for turning this little handheld into the desktop powerhouse it was always meant to be.