
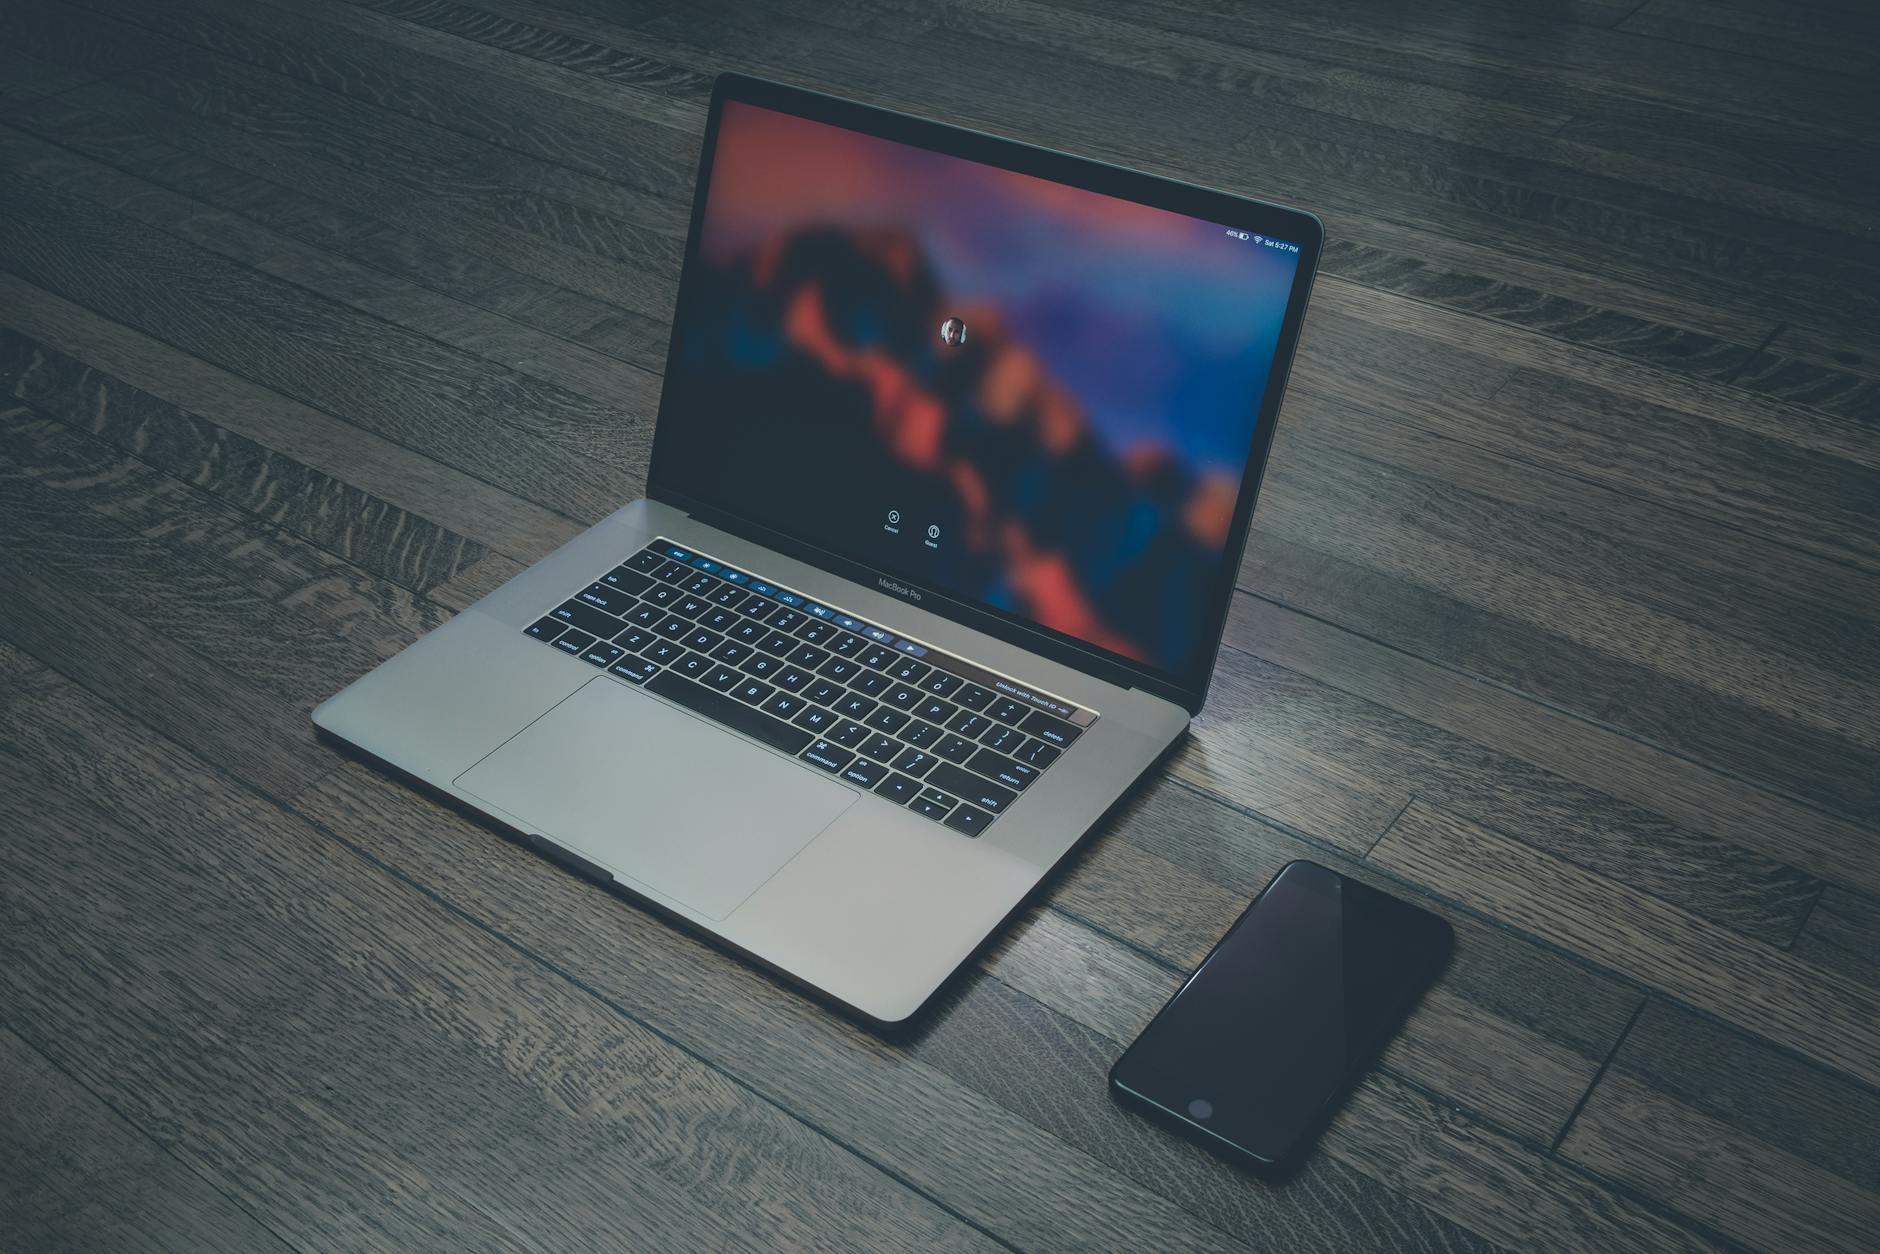
Apple’s MacBooks are masterpieces of hardware engineering. Their build quality, stunning displays, and powerful processors are the envy of the industry. But what if you could pair that world-class hardware with the unparalleled freedom, control, and power of a Linux operating system?
For years, this has been the holy grail for many developers, power users, and privacy advocates. The good news is that in 2025, running Linux on a MacBook is not just a dream; it’s a reality. The bad news? It’s not always a simple walk in the park. The process differs dramatically depending on the age of your machine, and there are trade-offs to consider.
This is where other guides fail. They either focus on the cutting-edge of Apple Silicon or the well-trodden path of Intel, but never both. This is your definitive, one-stop guide. Whether you’re rocking the latest M3 Pro or a trusty Intel MacBook from years past, we will walk you through every step of the process, providing the honest, real-world advice you need to succeed.
The Fork in the Road: Apple Silicon vs. Intel
Before we go any further, you must answer one crucial question: What kind of processor does your MacBook have? The answer will determine which path you take.
Here’s how to check:
- Click the Apple logo in the top-left corner of your screen.
- Select “About This Mac”.
- Look for the line item labeled “Chip” or “Processor”.
- If it says Apple M1, M2, or M3 (or any variation like Pro, Max, Ultra), you have Apple Silicon. Proceed to Path A.
- If it mentions Intel Core i5, i7, or i9, you have an Intel processor. Skip ahead to Path B.
Linux on Apple Silicon (M1/M2/M3) with Asahi
If you have a modern MacBook, your journey into Linux involves one of the most exciting projects in the open-source world today: Asahi Linux.
What is Asahi Linux?
Asahi Linux isn’t a typical distribution. It’s an incredible project, led by Hector Martin (@marcan) and a team of brilliant developers, dedicated to reverse-engineering Apple’s custom silicon to create open-source drivers. Their goal is to make it possible to run any standard Linux distribution on Apple Silicon hardware, a feat many thought was impossible.
The State of Asahi in 2025: Brutal Honesty
Let’s be crystal clear: running Linux on Apple Silicon is still an ongoing effort. While progress has been phenomenal, it’s not yet a 100% replacement for macOS in terms of hardware functionality. Here is the realistic status as of mid-2025:
What Works Amazingly Well:
- CPU Performance: It’s incredibly fast and efficient.
- NVMe Storage: Full speed access to the internal SSD.
- Wi-Fi & Bluetooth: Solid and reliable connectivity.
- USB & Thunderbolt (Data): Ports work perfectly for peripherals and data transfer.
- Keyboard & Trackpad: Flawless.
- GPU Acceleration: Desktop graphics and 3D applications now have excellent OpenGL support.
What’s Good, but with Caveats:
- Speakers: They work! But due to complex processing, they don’t yet have the same bass and fullness as in macOS.
- Battery Life: It’s good and improving, but may not yet match the marathon longevity of macOS.
- DisplayPort over USB-C: Works for connecting external monitors.
What’s Still a Work in Progress or Not Functional:
- Thunderbolt Peripherals: While the ports work for USB-C, full Thunderbolt device support is still developing.
- Touch ID: The fingerprint sensor is non-functional.
- “Notch” Displays: The webcam and the area around it are still being worked on for full support.
For the most up-to-the-minute details, always check the official Asahi Linux Wiki Feature Support page.
The Official Choice: Fedora Asahi Remix
The Asahi team has officially partnered with the Fedora Project. The result is the Fedora Asahi Remix, which is now the primary, recommended way to install Linux on your M-series Mac. It combines the rock-solid foundation of Fedora Linux with the cutting-edge drivers from the Asahi project.
Step-by-Step Installation Guide
CRITICAL WARNING: BACK UP YOUR DATA. While the Asahi installer is exceptionally safe and non-destructive, you should always have a full Time Machine backup of your macOS installation before attempting any major system change.
- Update macOS: Make sure your system is running the latest version of macOS Sonoma. This ensures you have the latest firmware.
- Resize Your Partition: You need to make space for Linux. Open Disk Utility in macOS, select your main Macintosh HD volume, and click “Partition”. Click the “+” button to add a new partition. Resize it to give Linux as much space as you need (at least 30-40GB is recommended). Don’t worry about formatting it, just create the empty space.
- Run the Installer: This is the magic part. Open the Terminal app in macOS and paste the following command, then press Enter:
curl https://alx.sh | shThis command downloads and runs the official Asahi Linux installer script. - Follow the Prompts: The text-based installer will guide you through the process. It’s very user-friendly. You will be asked to:
- Enter your macOS password.
- Choose how much space to allocate to Linux (it will offer to use the free space you created).
- Confirm the installation.
- Reboot and Complete Setup: After the script finishes, it will prompt you to reboot. Your Mac will start up in the Fedora Asahi Remix installer, where you’ll complete a standard graphical setup, including creating your user account and setting your password.
Congratulations! You are now dual-booting macOS and Fedora Linux on Apple’s cutting-edge hardware.
The Well-Trodden Path – Linux on Intel MacBooks
If you have an older MacBook with an Intel processor, your journey is significantly simpler. The Linux community has had over a decade to perfect support for this hardware. Most things will work right out of the box.
Choosing Your Distribution
While almost any modern distribution will work, some provide a smoother experience on Apple hardware. Our top recommendations are:
- Ubuntu 24.04 LTS: The most popular Linux distribution in the world for a reason. It has excellent hardware detection and a massive community for support.
- Pop!_OS: Based on Ubuntu, Pop!_OS includes excellent power management and graphics drivers out of the box, which can be beneficial for laptops.
Step-by-Step Installation Guide
CRITICAL WARNING: BACK UP YOUR DATA. Even though this process is mature, a full Time Machine backup is non-negotiable.
- Create a Bootable USB Drive:
- Download the
.isofile for your chosen distribution (e.g., Ubuntu 24.04 LTS). - Use a tool like BalenaEtcher to flash the ISO file to a USB drive (at least 8GB). BalenaEtcher is simple, safe, and works on macOS.
- Download the
- Boot from the USB Drive:
- Plug the USB drive into your MacBook.
- Restart the computer and immediately press and hold the
Option(orAlt) key. - Hold the key until the Startup Manager appears, showing your available boot disks.
- You should see your internal Macintosh HD and an orange USB icon, likely labeled “EFI Boot”. Select the USB drive and press Enter.
- Try and Install Linux:
- Your MacBook will now boot into the Linux installer’s live environment. You can “Try Ubuntu” (or your chosen distro) to test that everything works (Wi-Fi, display, trackpad) before committing.
- When you’re ready, double-click the “Install” icon on the desktop.
- The installation wizard will guide you. At the “Installation type” screen, you will have a choice:
- “Install alongside macOS”: If available, this is the easiest option. The installer will automatically resize your macOS partition and set up a dual boot.
- “Something else”: This gives you manual control to create your own partitions from the free space. Only choose this if you are an experienced user.
Post-Installation Tweaks for Intel Macs
After installation, you may run into a few common quirks. Here’s how to solve them:
- Broadcom Wi-Fi Not Working: Many older MacBooks use Broadcom Wi-Fi chips that require proprietary drivers.
- Connect your laptop to the internet via a USB-to-Ethernet adapter or by tethering to your phone’s USB.
- Open the “Software & Updates” application.
- Go to the “Additional Drivers” tab. It should automatically search for and find the Broadcom driver. Select it and click “Apply Changes”.
- FaceTime HD Camera: Getting the webcam to work often requires manually extracting the firmware from an old macOS driver. It’s a complex process, but a great guide can be found on GitHub.
- Keyboard Function Keys: By default, the F-keys may not work as expected. You can adjust their behavior in the system settings or by using simple command-line tweaks.
Conclusion and FAQ
You’ve done it. Whether you’ve ventured onto the frontier of Apple Silicon or installed a mature system on a trusty Intel machine, you’ve successfully combined Apple’s elegant hardware with the power and freedom of Linux.
Frequently Asked Questions
Q: Can I remove Linux and go back to just macOS?
A: Yes. On both Intel and Apple Silicon, you can use macOS’s Disk Utility to remove the Linux partition and reclaim the space.
Q: Is installing Linux on my Mac safe? Will it void my warranty?
A: The process is generally very safe, especially the Asahi installer which is designed to be non-destructive. It will not void your hardware warranty. However, you are responsible for your own data, which is why backups are so critical.
Q: Is it worth it?
A: It depends on you! If you are a developer who needs native Linux tools, a tinkerer who loves to customize, or someone who values open-source software, then absolutely. You get a premium-built Linux laptop. If you rely heavily on macOS-exclusive software (like Final Cut Pro or Logic Pro), a dual-boot setup is the perfect compromise.
At what stage of development is Fedora Asahi Remix for the Macbook Pro M3 Pro?
Hi, Fedora Asahi Remix for the M3 Pro is still in a very early, pre-alpha stage of development and is not ready for general users. Key functions like graphics acceleration (GPU), Wi-Fi, Bluetooth, and Thunderbolt are not yet functional, and there’s no official support or installer for it. So, it’s not usable yet.